Tighten your Air Vents

by Roland Schaer

Are your vent controls getting old and not holding the position to which you set them? I ran into this problem in a 1997 NA That I recently started driving. I came up with a solution and thought I would share it with you guys.

Background:

I found that these vent controls are held firm by four strips of velvet tape. As time goes by, the tape flattens out and looses it's grip on the vent control. What I have done is remove the existing tape and re-apply it to the back of some electrical tape, giving it back it's original thickness.

What you need:


NOTE: You can click on any picture to view the full-size version

Removing The Vent Controls:

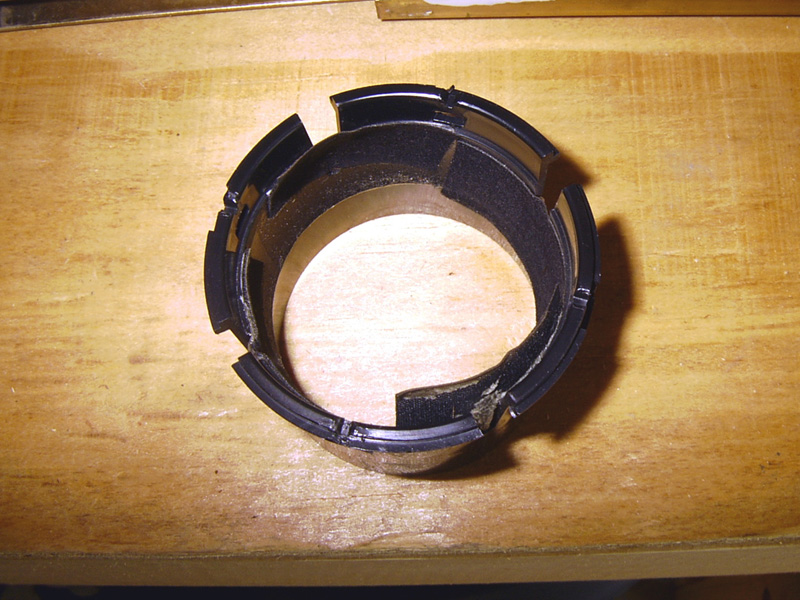
If you have a service manual, you can follow the procedure illustrated in section 19-7-5 (Center Louver Removal). I found this did not work well, especially for the extreme left and right vents. I used an alternate method (see figure 1) that involved inserting two small flat bladed screwdrivers between the vents and the dash pad. I then slowly levered the screwdrivers away from the vent and it just popped out.

(Editor's note: If you use this method to remove your vents, we suggest using a bit of cloth between the screwdriver and your dash to help prevent marring the surface.)
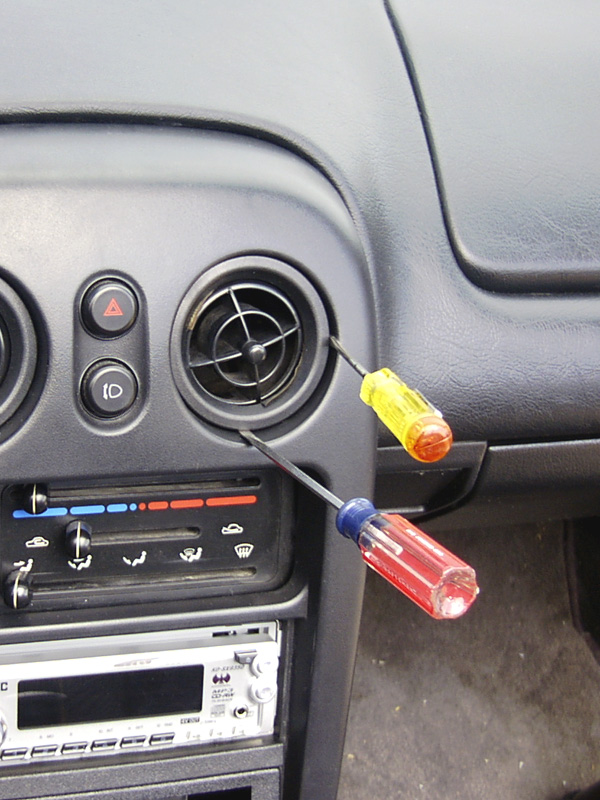

Fig 1.

Disassembling The Vent Controls:

Once the vent has been removed, it can be disassembled. The top of the vent is a snap-ring that is held in place by four snaps (see figure 2). It can be removed by placing a flat-head screwdriver into the slot and and slowly levering down. The snaps may chip a little but they will still be strong enough to hold the ring in place when the vent is re-assembled. After removing the snap-ring, remove the directional control to gain access to the Velvet Strips (see figure 3).

Fig 2. Fig 3

Replacing The Velvet Strips:

Reach into the vent and peel back one of the velvet strips. If you let them bake in the sun for a while or heat them with a hair dryer, they may come out easier and in one piece. More than likely, some of the sticky tape that held the strip in place will not peel off. IF this is the case, you will need some type of adhesive to secure them to the electrical tape. Apply a piece of electrical tape to a smooth hard surface. If your strip does not have any stick surface left, apply a small amount of adhesive. Apply the velvet strip to the back of the electrical tape (see figure 4) and then cut off the excess amount with a utility knife. Peel off the tape/strip and re-apply to the inside of the vent. Repeat these steps for the remaining three strips.
Fig 4.

Re-assembling Of Vent Controls:

Once the vent strips have been replaced, the vent can be reassembled. Insert the the directional control into the vent. Place the snap-ring on top of the vent and align the snaps. It is designed to only go on one way so make sure it is properly aligned. Press down firmly over each snap until it clicks into place (see figure 2).

Installing The Vent Controls:

There are two notches cut into the side of the vent control. Make sure these notches are aligned to the right and left and push the vent control back into the dash pad. It should just snap into place and you are done.

Back to Garage

30 September, 2003