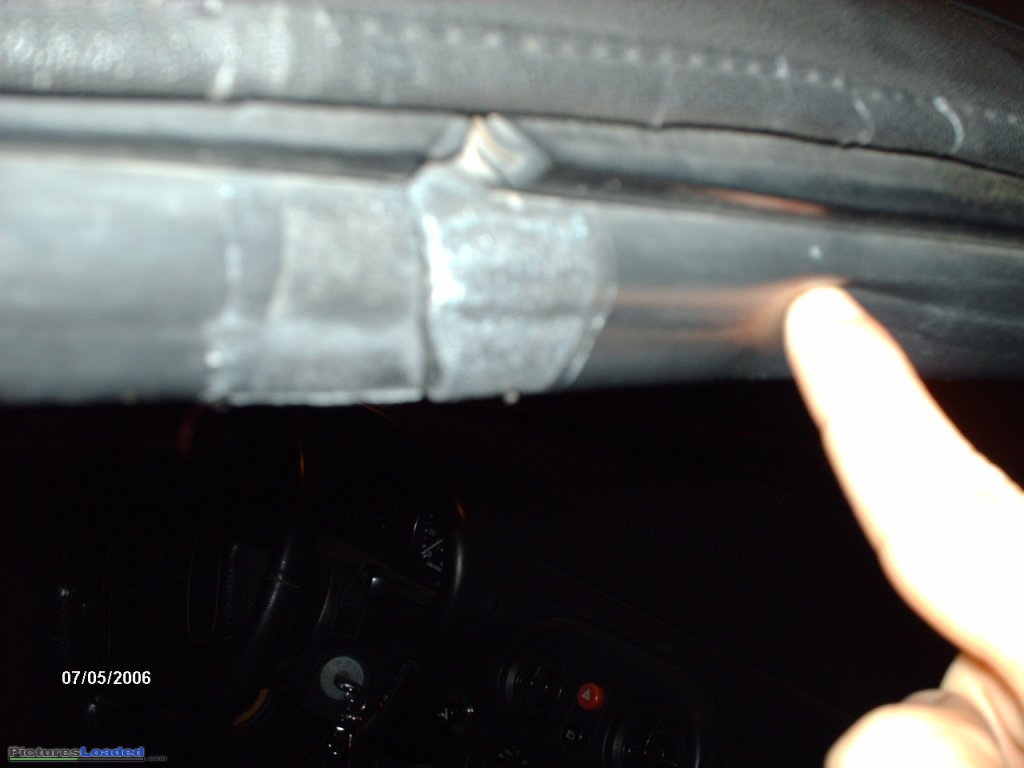
 The problem is that while it may still be in tact, it has gotten weak over the
years while it has been pressed against the window. This means that rain can easily
get through without much trouble.. especially while driving. The goal of this
tutorial is to add more body to the weatherstripping so that the flex allowed
is minimal, so that the window fits more tightly against the material. The tools
you will need for this are minimal $2 for some foam insulation 1 1/4" thick
squared, some rubber bands, and some glue (I used Automotive GOOP.. price unknown).
The problem is that while it may still be in tact, it has gotten weak over the
years while it has been pressed against the window. This means that rain can easily
get through without much trouble.. especially while driving. The goal of this
tutorial is to add more body to the weatherstripping so that the flex allowed
is minimal, so that the window fits more tightly against the material. The tools
you will need for this are minimal $2 for some foam insulation 1 1/4" thick
squared, some rubber bands, and some glue (I used Automotive GOOP.. price unknown).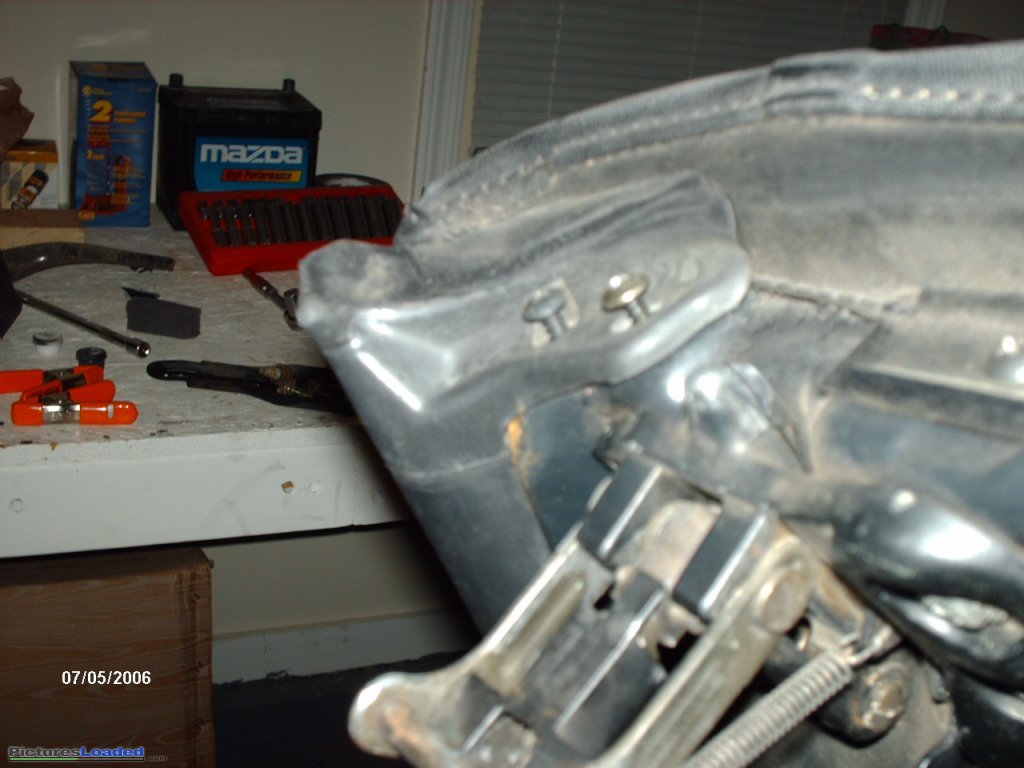 |
<- The first step is to remove the screws that hold the
first piece of weatherstripping in place. Then just peal it away as shown in this dramatic photo. 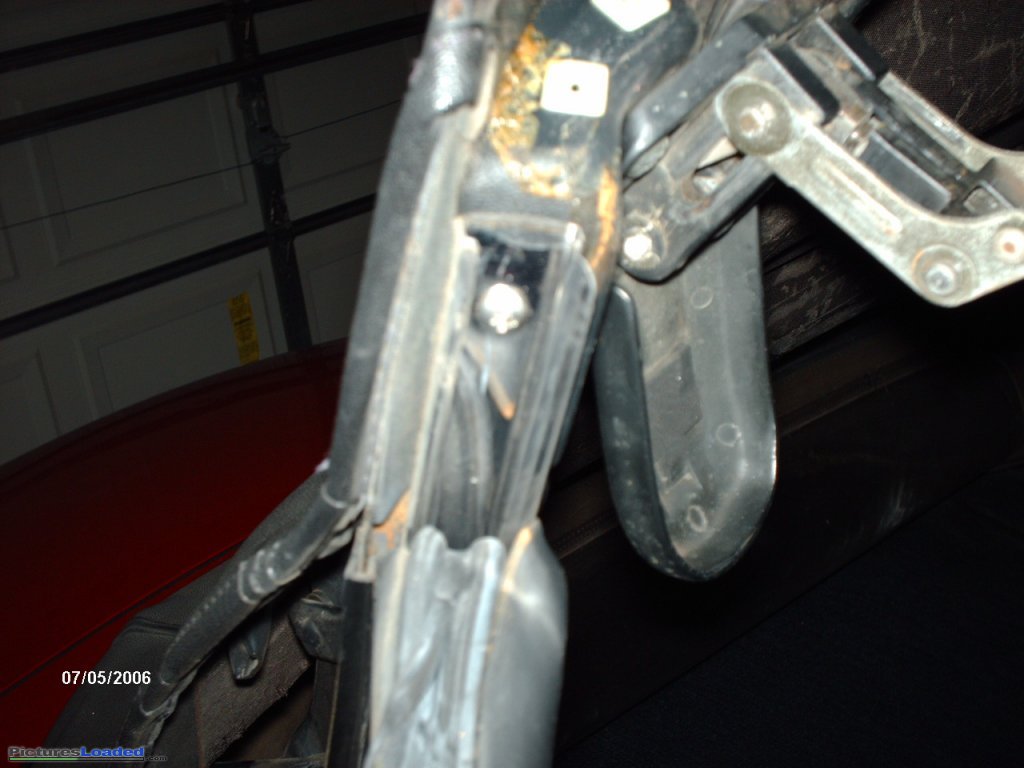
Its being held in place by a metal strip which grips the weatherstripping from the inside on each side.. |
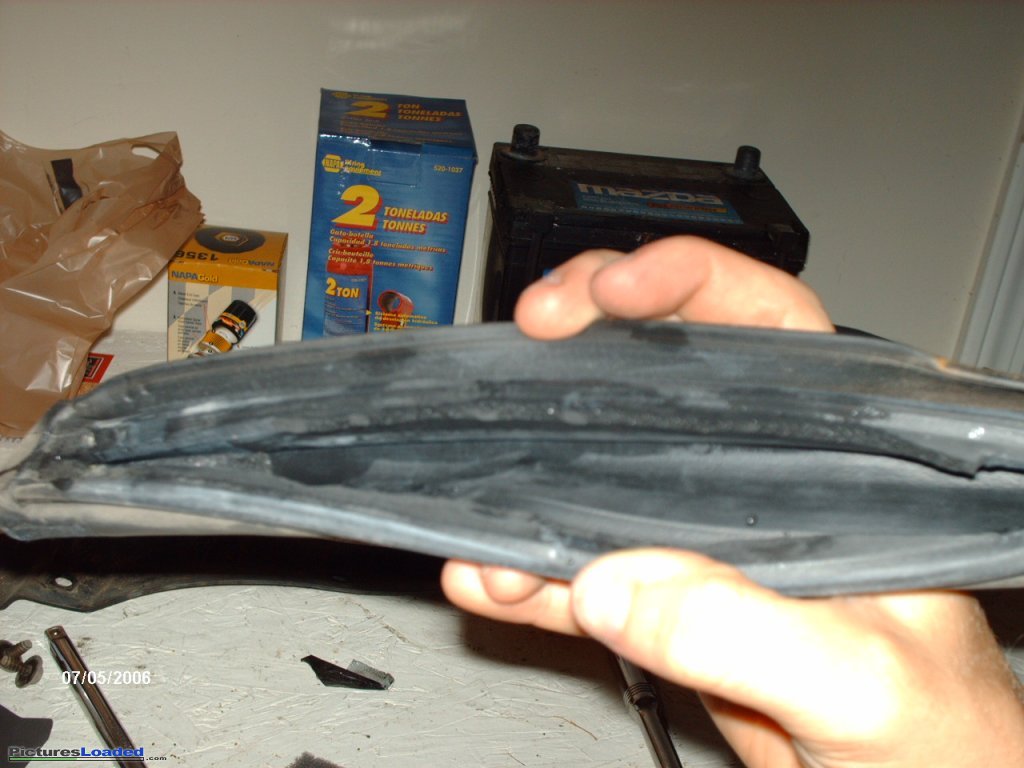
The next step it to use the slits that are already there
to open the entire bottom side of the weatherstripping. I prefer the ripping
method rather than cutting because it provides a good template for gluing
it back together. We now realize that the reason its so flexible is because
its completely hollow inside..  The
stuffing of choice is sealer for air conditioner. I got this at Home depot
for $1.97 The
stuffing of choice is sealer for air conditioner. I got this at Home depot
for $1.97 |
 |
| What we want to do now is take a small piece and stuff it into the front part of the strip where the screws came out.. I'm using a socket wrench extender because its not pointy and it slides nicely in the rubber. |  |
Then we stuff our nicely cut piece of weatherseal into the big gash we made and let it condense into the shape of the weatherstrip. |  |
 |
I am using automotive GOOP from my garage. Any kind of glue that dries flexibly would work, but I prefer this stuff because its very strong. I am using rubber bands to hold it together since it takes quite a few minutes to securely dry (10-15 min) and the bands will provide a nice tight squeeze when evenly distributed in great numbers, leaving me to do other things while it dries. I'm doing this in halves because I only have 4 rubber bands, and because its easy to pace yourself. |  |
All right. Got it glued, and secured in place with the rubber bands, doubled over for more holding power. I used the scissors to push the foam back inside before I held it shut. Do the same to the other side Generally the first half is harder to get mended because there's nothing but rubber bands holding it together. Once the whole thing is glued together you are ready to install it. |
| Ok.. There's a trick to this.. you have to put this in from front to back.. I bent the metal at the back end so you can put it in more easily. (back = towards center of car) |  |
Now that its on securely and the screws are in place, you want to bend the metal back tightly against the seam of the rubber. This is also where you adjust the position. It wont match the 2nd piece because the 2nd piece is still "flat".. but once you have done the rest the same way, the result is satisfying. | 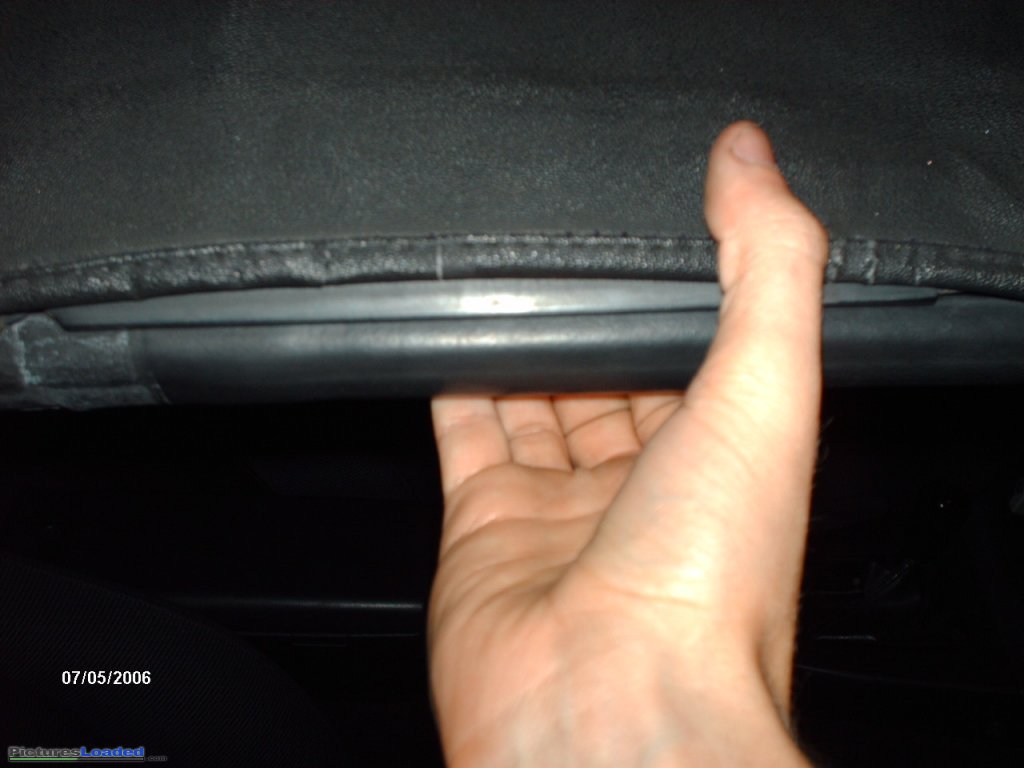 |
Repeat for all strips, once its done, it holds the window very tightly and doesn't allow the water to seep in... This fix adds more body to the weatherstripping making it harder for water to leak in and cause your seats to get wet. I should mention that the 42" of Weatherseal I got from Home Depot was only long enough to do 4 strips, the top 2 for the drivers and passenger side. After the 2nd piece is done, it takes a few minutes of squeezing the metal to get it in the right position, but it can be achieved nicely with patience. Beats paying ~$180 from dealer, huh? McGyver would be proud.
Note from Ozzi:
I found that you can avoid cutting the weatherstripping at all if you use caulk backing instead of air conditioner foam. It's basically a foam rod that you would push into large cracks before sealing them with caulk, but it works perfectly for inserting into the weathingstripping through the factory slits. You can push it through without having to open up the weatherstripping, thus avoiding having to glue it back together.
The brand name of the product I used was Caulksav'r Poly Foam Caulk Backing, in a 3/8" diameter.
| Back to the Garage | 25 July, 2006 |