I recently repaired the right side power window regulator and thought others might benefit from my experience. I had cable problems only; the electric motor was working fine. I heard a loud snap as the window reached the full up position. The glass immediately slid down about half way.
My first recommendation is that if you suspect a cable problem, don't toggle the window switch up and down. I did and succeeded only in wrapping the cable around itself inside the capstan drive assembly. If the cable jams, it would be easy to blow the motor fuze or damage the cable guides on the teflon capstan.
Be sure to mark the position of all components before you start removing components from the door. This will simplify realignment. If you don't have a manual, the basic layout is given below. Note that the two cables cross.
Because I had wrapped the cable around itself inside the capstan, I needed one new cable. I didn't check to see if Mazda sells individual cables. I went to a local motorcycle shop and had a cable made for $10. If you take this approach, you have to figure out which pieces (cable guides, sheath, etc.) have to be strung on the cable before the cable person installs the second end piece. The end pieces installed by the motor cycle shop look to be much more sturdy than the end pieces on the OEM cables.
I reviewed the material on regulator installation and repair in the Enthusiast's Manual and found it helpful. However, I believe the material in the manual contains an error and needs significant clarification with respect how to wrap the cables on the capstan.
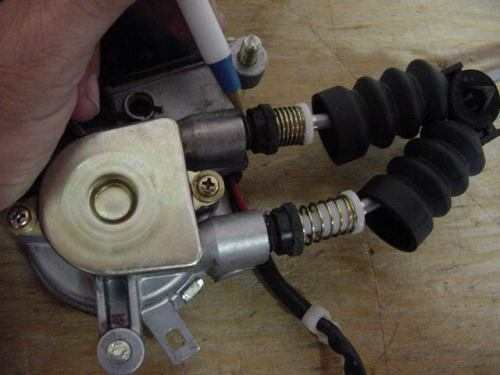
The capstan will go into the motor housing only one way. The hole in the center of the capstan is square in the lower half (drive side) and round in the upper half. Per the manual, the cable that pulls the window slider down goes into the motor housing through the hole that is closest to the black motor body. As a study of the pictures in the manual will show, this "down" cable wraps clockwise around the upper half of the capstan - not the lower half. (The word "UP" in the first sentence, Pg 10:14, Para 15 of the Enthusiast's Manual should be "DOWN") . Snap the end piece into the hole on the side of the upper half of the capstan and rotate the capstan counterclockwise for approximately 2.5 turns. This action will wrap the cable clockwise around the capstan.
The cable that pulls the window slider up goes into the motor housing through the hole that is furthest away from the black motor body. Snap the end into the hole on the side of the lower half of the capstan and, holding the capstan stationary, wrap the cable counter-clockwise around the capstan for approximately 2.5 turns. The cable slots in the captain should now be full. If they 're not, you didn't wrap enough cable. Don't forget the grease - but don't overdue it. Unfortunately, there's no recommendation in the Miata Enthusiast's Manual on what kind of grease to use. Carefully slip the capstan into the housing and secure the top.
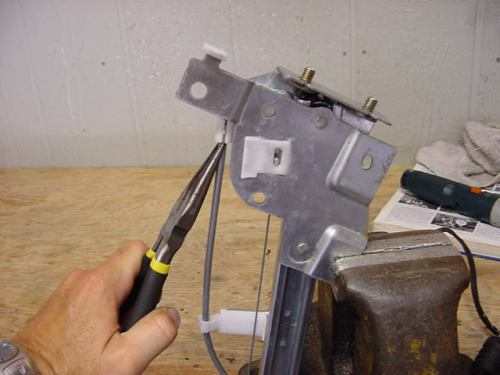
If you detached either of the cable ends where they attach to the slider so that you could wind the capstan, it's easier to slip the cables off the slider pulleys, reattach the ends to the slider and then slip the cables back over the pulleys. You may have to compress the tension springs where the cables enter the drive assembly to get enough slack. Good luck.
George Hess
Sigridmac@aol.com
Golden, CO.
Using George s instructions and the Miata Enthusiast Manual I was able to complete all the steps except the last one. I did not have enough slack in the cable to fit over the pulley on the end of the regulator. Even when I compressed the tension springs there simply wasn t enough cable to get over the pulley and it seemed prying it with a small screw driver was going to break the pulley in my case.
I found if the black plastic seats of the springs which are threaded into the body of the electric motor are turned or screwed in toward the motor it gave me more slack in the cable.
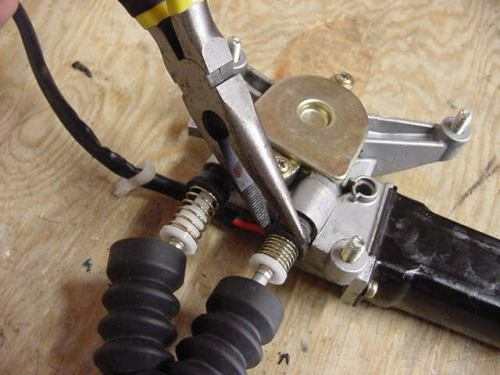
I carefully screwed in the seats with needle nose pliers until both were in as far as they would go careful these are plastic and can break if forced.
Working alone, I placed the window regulator in a vice and attached it to the flat metal window slider. I then decided to change my approach and went back a few steps and completely loosened the cable again by unplugging one of the ends from the slider. I placed the cable over the pulley end and turned my attention to the opposite end of the regulator that doesn t have a pulley but a half circle type guide. I placed the cable in the guide and as I just started to run out of slack I grabbed the cable sleeve end with needle nose pliers and pulled it down and was able to seat it properly.
Now that the cable was all in place I unscrewed the
black plastic seats back to their original position.
Addendum by Cooper Millard
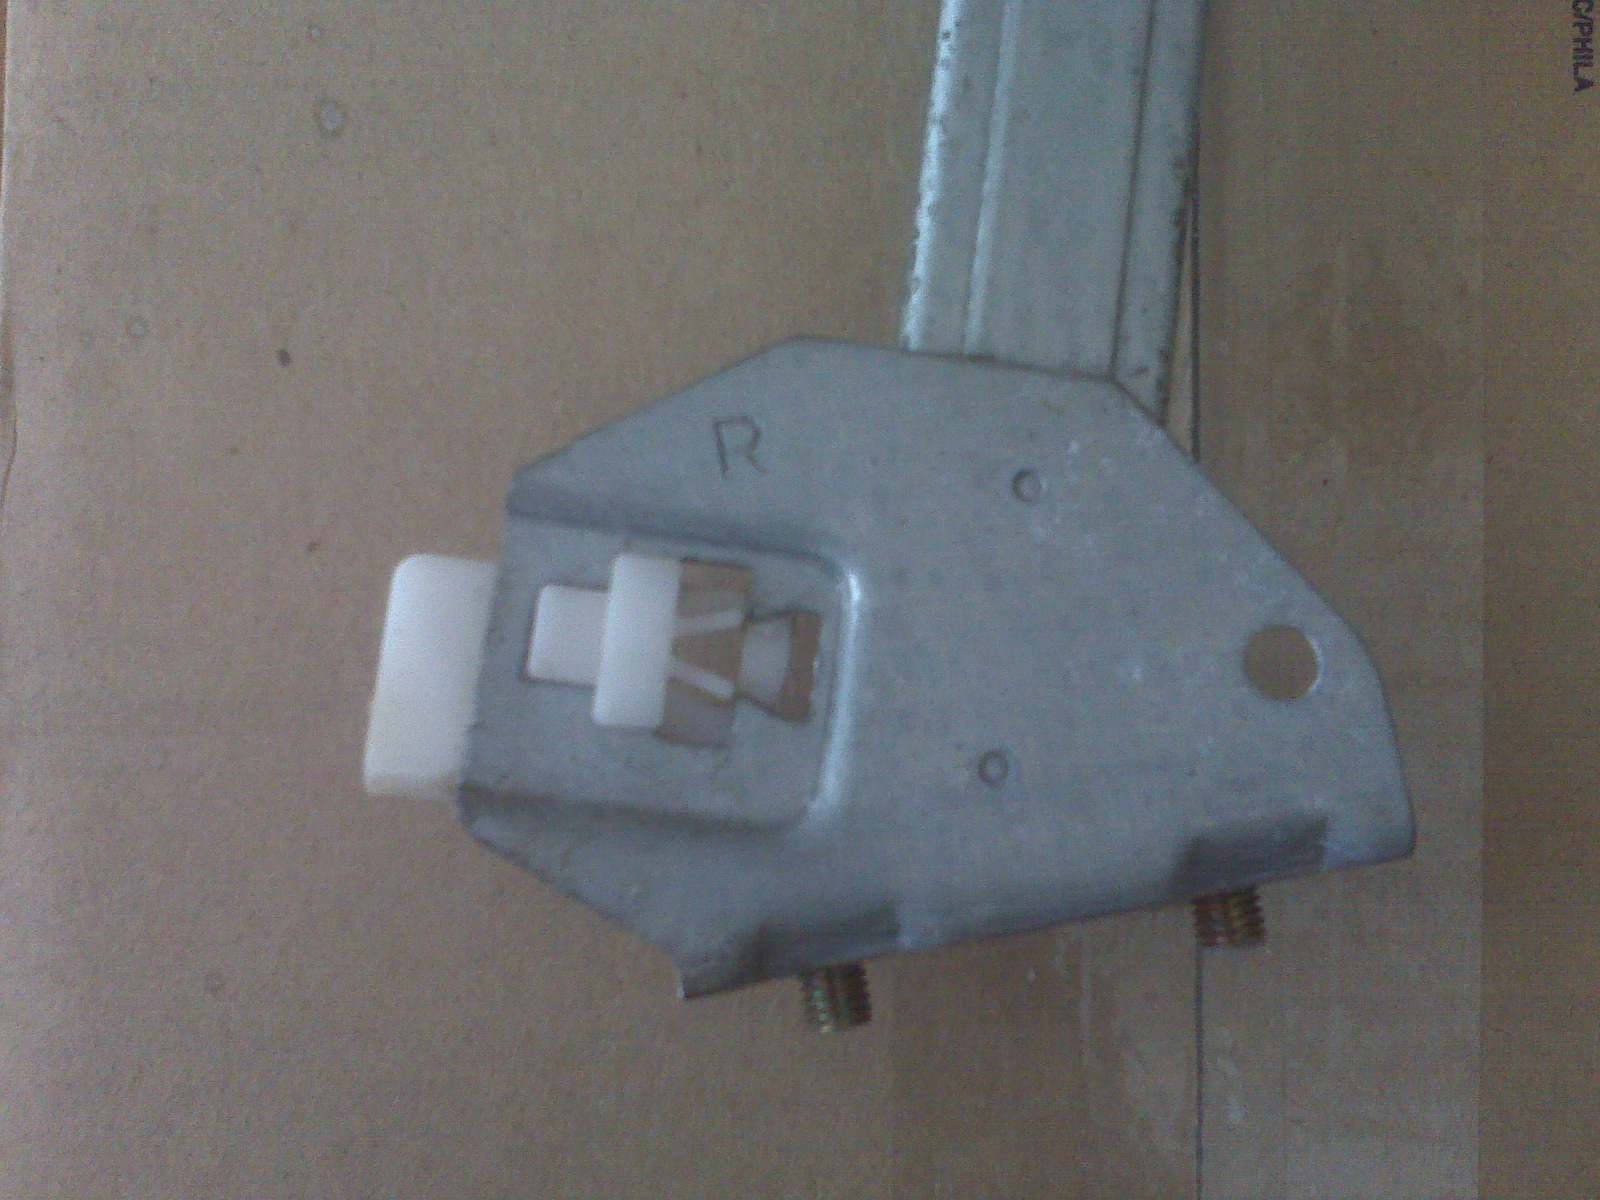
Doing this on a 2003 Miata, I found that I had to leave one cable slot in the capstan open. I also had a hard time trying to get the cables in place, even with the seats screwed all the way down. The easy solution was to remove the bottom plastic "slide," get all the cables in place, then put it back. To remove it, the piece slides back with a light squeeze on the plastic legs with a pair of pliers.

| Back to Garage |
28 December, 2008 |