 Brain
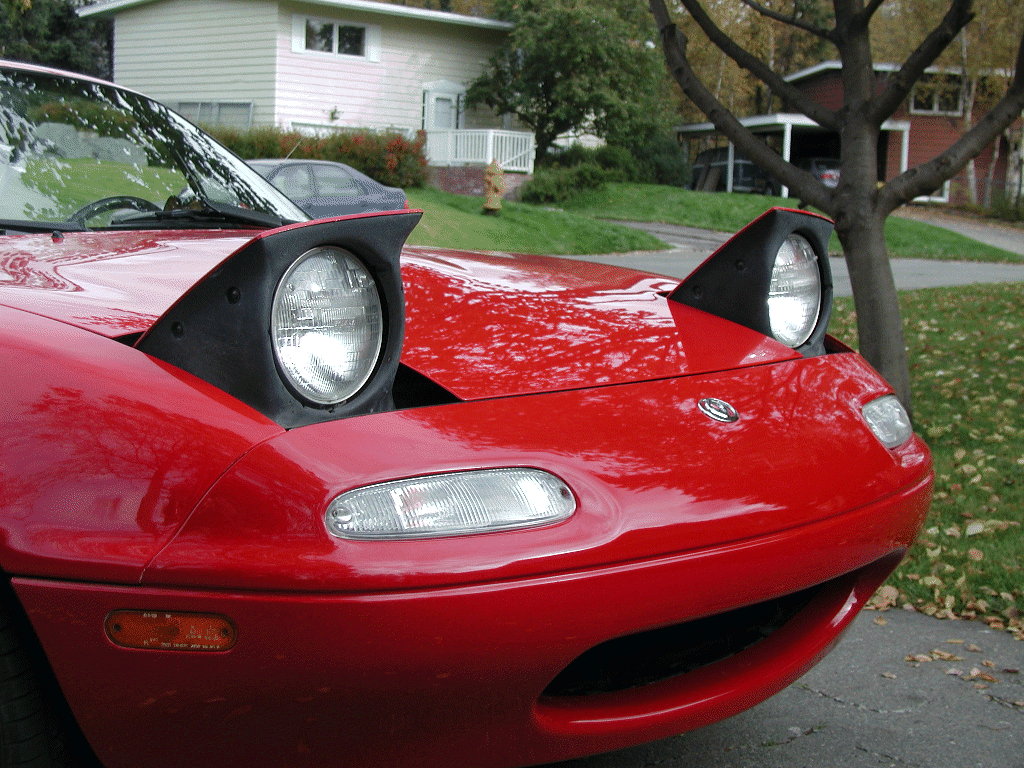
Storm Low Profile Headlight Installation
  Brain
Storm Low Profile Headlight Installation
 6. Remove the 2 pivot bolts.
7. Lift the bucket assembly out of the car.
8. Remove the other end of the crank rod from the bucket pivot.
9. Remove the two brass bushings from the stock bucket.
Be very careful. You will have to reuse these. Gently tap the bushing out using a hammer and small socket.
10. Here is everything that came in the kit.
And here it is removed from the plastic.
11. I couldn't figure out what these 6 odd sized washers were for.
They are used as spacers during the headlight lid reinstallation.
12. The rounded part of the new bucket is the top.
13. This square "step" on the side tells the difference between the left and right buckets.
The "step" goes towards the outside of the car - towards the fender. The inside has no "step".
14. These are the floater rings.
Notice how these have red dots on them? They are for the drivers side. Also notice that each ring is arranged for one hole in the middle and two holes on the outside.
15. Here are the tabs that you will use to attach the headlights to the floater rings.
16. Here is what they look like attached.
Notice that the tab faces towards the back of the headlight?
I tried to put this together backwards the first time.
17. Attach the headlight and floater plate to the bucket by using the longer screws and the springs like this.
Thread the screw about a ¼" through the back of the bucket like this.
[Home] -
[FAQ] -
[Search] -
[Sponsors] -
[Forums]
[Garage] -
[Clubs] -
[Contact Us] -
[Disclosures] -
[More...]
Copyright
©1994-2024, Eunos Communications LLC
All rights reserved.