
 Brain
Storm Low Profile Headlight Installation
 27. Bolt the new pivot to the new pivot arm. Make sure that the nut points to the middle, like this.
Also make sure that you use the smaller hole. I was able to bolt it into the larger hole, and didn't notice it until much later in the install.
Here is the two pivot arms side by side.
The smaller one is the new one and will raise the lid much less than the stock lights.
28. Push the crank arm on to the pivot on the new bucket.
29. At this point, I realized that I had mounted the rubber bumpstop backwards. Here is what the assembly is supposed to look like at this point.
30. Set the assembly in the headlight well and put in the original pivot bolts.
31. Place the pivot arm onto the retractor motor. Snug up the nut and lock washer, but leave it loose enough to rotate it by hand. Push the crank arm on to the crank pivot.
The pivot arm and the crank arm should make a straight line when the bucket is in the full up position. Also the rubber bumper should be slightly compressed. Sorry I only have the one pic of this part. Refer closely to the instructions BSP sent you.
32. Slide the factory headlight connector into the odd shaped hole in the back of the bucket. I got this one backwards too. Put it in like this.
Not like this,
or this.
The middle pic also shows you how the wires are connected: Black to black, BSP white to Mazda red/black, BSP orange to Mazda red/white.
33. Remember that fastener on the wiring harness that you removed from the original bucket? There's a spot for it on the new bucket too. It goes like this.
34. Again, Here is a pic of all the wiring as it should be installed.
35. Thread the four bolts that held the headlight lid on to the new bucket. Leave them loose enough to slip the lid tabs in freely.
This one is the one that needs those mystery washers.
(sorry, I didn't get a pic of the washers actually in place.)
36. The back bolt on the fender side is not easy to get to.
I used an adjustable wrench for the initial bolt installation and a Phillips screwdriver for the final tightening. I chose not to follow BSP's advise to put masking tape on my fender. I now wish I had. There is virtually no way to tighten this bolt without damaging the paint unless you use the tape. USE THE TAPE! Really, it was just a little chip on each side and touch up paint took care of it.
37. Slide the body colored lids back on each bucket and gently move them around to the right spacing/fit with the other body panels. Tighten the bolts gently, they are soft.
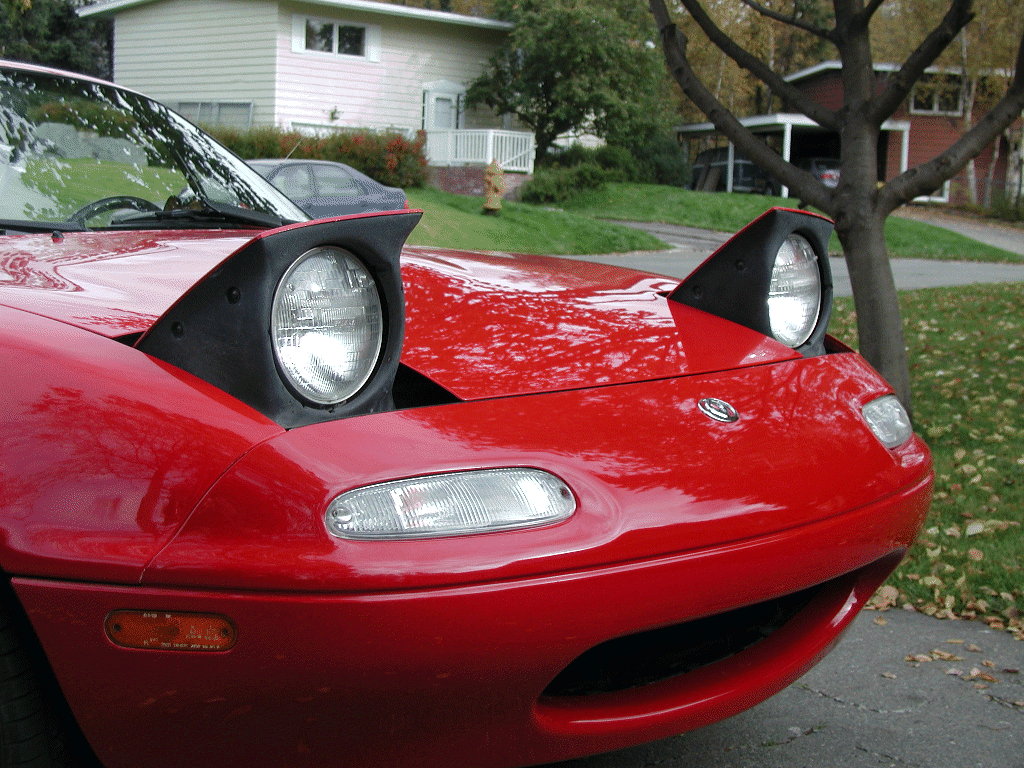
Viola, headlight that don't look like bug eyes. The light pattern leaves a lot to be desired. (they are just spot beams) Everything else is pretty good. All in all, not a bad kit.

This guide is not meant to replace Brainstom's instructions included with the kit. There are a few things covered there that are not covered here. Attached is the retyped text of the instructions included with my kit, minus the figures/diagrams.
[Home] -
[FAQ] -
[Search] -
[Sponsors] -
[Forums]
[Garage] -
[Clubs] -
[Contact Us] -
[Disclosures] -
[More...]
Copyright
©1994-2024, Eunos Communications LLC
All rights reserved.